
So onto part two of my knife adventure which came about during my now finished work sabbatical when I had a slightly fortuitous 1-2-1 day with Ross Berry at Kaos blacksmiths in Kent during which I made a full tang and this tapered tang knife blank to take home and handle. All well ans good but as I mentioned in the blog about the full tang handling it's something I have no experience of.

I left the tapered tang blank with it's black forge finish as I knew I wasn't going to mess it up with the finishing sand, as opposed to the full tang blank which I polished so I could sand the spine etc. I initially thought about a dark wood one piece handle but having seen the neck knives that Ross makes I thought I'd have a crack at a two part handle with some fancy Dan spacers. I chose some Birch for the smaller front piece and as I'd planned to have a central tang but ran out of time to sort it I decided to have a handle shape to accommodate and negate this.
Ross often uses metal spacers about the size of a two pence coin but with the central tang I decided to have a larger sized spacer and sand it down as I wasn't sure how small I was going to get the handle. and I tried to make one out of an old bracket but I couldn't drill through it. . This was soon ditched as I didn't want any complications. I therefore ordered a bleached Water Buffalo bone spacer.


For the darker part of the handle I purchased a Walnut block which like the like the Birch part I measured, sawed, drilled and then roughly shaped. I did struggle with the holes as I don't have a pillar drill or any square edged rat tail files and whilst I did end up with a fairly snug fit the aperture where the blade meets the handle is a little larger than I'd have liked, for aesthetic reasons if nothing else.

So once I'd done all the groundwork I started looking at practicing putting the parts altogether which also includes some liners. I'd initially thought about a red liner between the bone spacer and the Walnut, and a black one with the Birch but then thought I'd have both either side of the bone.

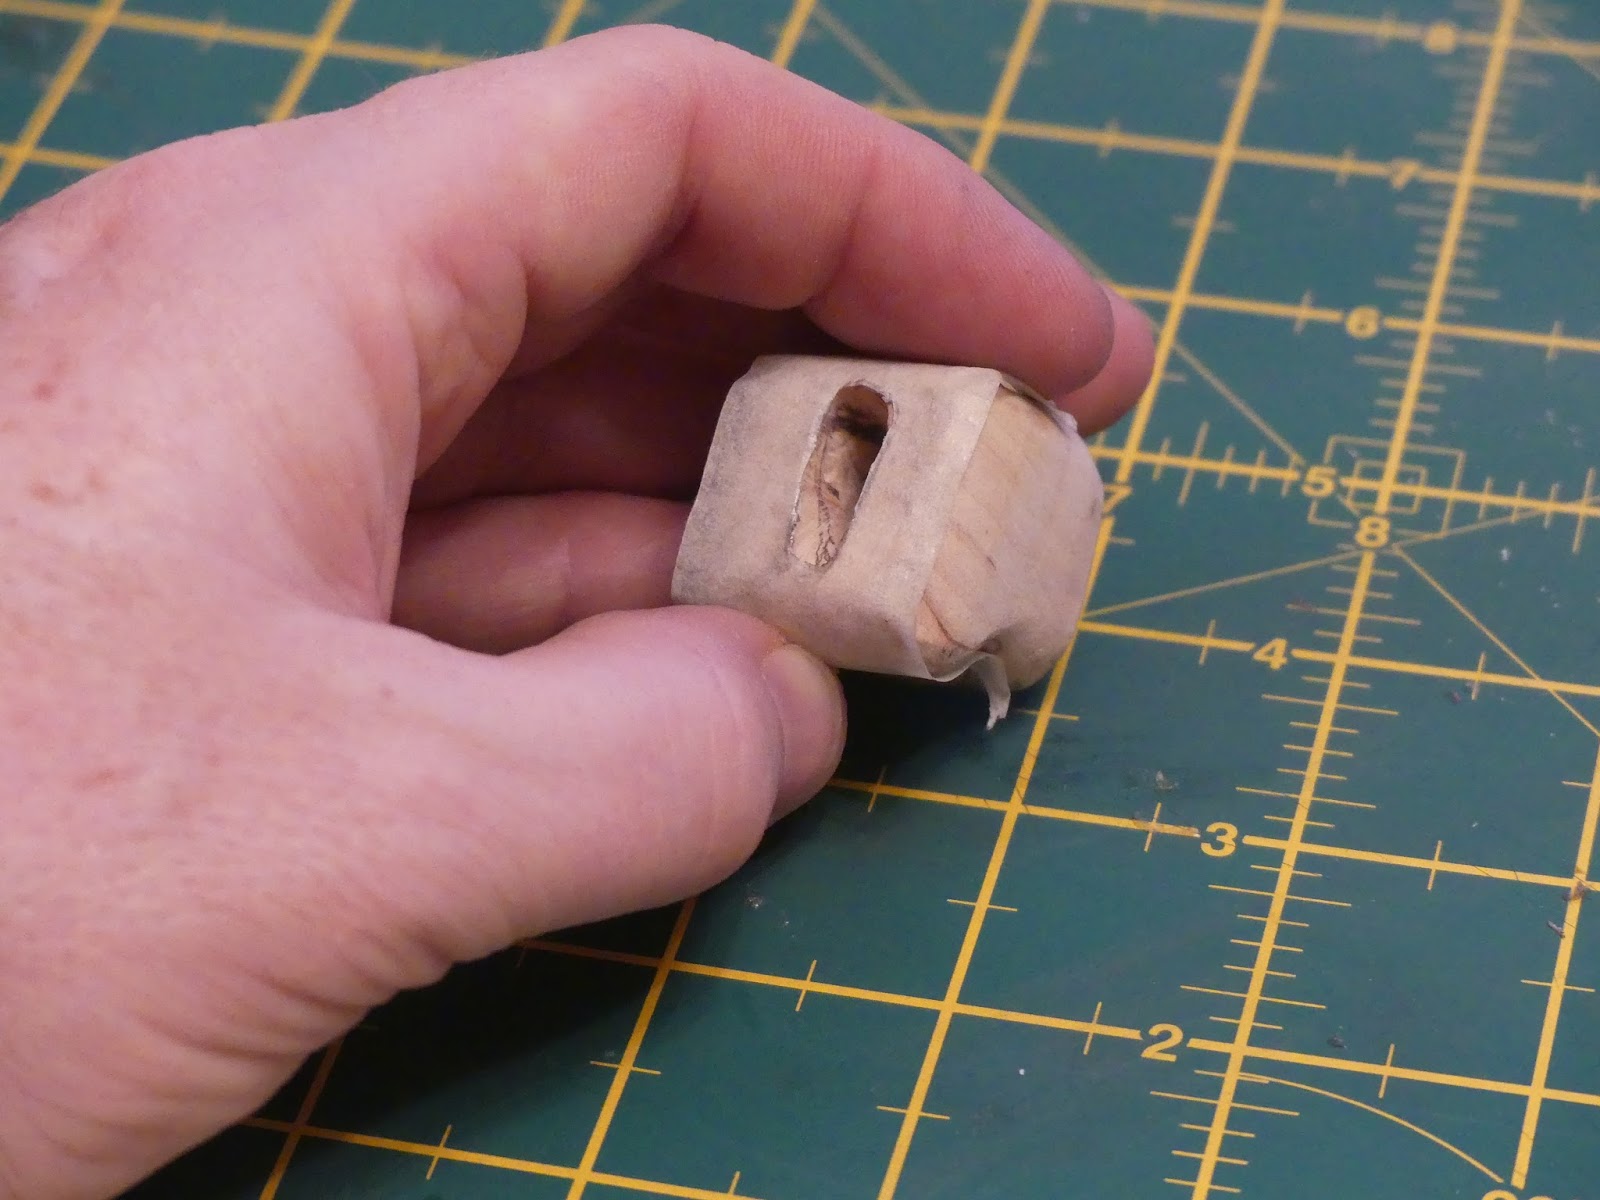
And the moment of truth arrived to stop procrastinating and get gluing. I got (two part) glue all over the full tang scales as my fingers turned to bananas whilst gluing so I wrapped the wood in tape to help keep them clean. I also double wrapped the blade near the tang so that I could sand close without it affecting the blade.

I'm glad that I wrapped the wood as my gluing was again a little ham fisted and you can see a shine on the tape in the above picture. I turned my work bench on it's side, secured the blade and then used two clamps to put gentle pressure on the handle parts.

The process was successful and then to finish I had to get my head down and sand the handle to my satisfaction. At this stage the handle was a little square so I needed to round the corners a bit. I therefore marked the areas either side of the edges to give me sanding guidelines.

I would have gone for a more rounded shape but my handheld sander was giving me a slow return so I worked through a couple of finer grit papers and called it a day. It is comfy enough to be used as an occasional around camp sort of knife so extended usage won't be an issue. With my work bench back up the right way I again clamped the blade and applied a coat of boiled linseed oil which really does enhance the materials.


Two very satisfying blacksmithing projects in differing ways. If you have some Christmas money kicking about give some thought to a blacksmithing day experience with Ross. Tantalisingly I have two spare spacers and enough Birch, Walnut and liner left for a Puukko style handle...
Suggested further reading:-
Kaos Blacksmith 1-2-1
First attempt at a full tang knife
No comments:
Post a Comment