It follows roughly along the same lines as the MK I how to I did but it's a more enclosed version.

As with the afore mentioned MK 1 tarp tent version this one starts with a 3m x 3m laid flat in a suitable flat spot with no ants nests, broken branches above etc. Note the ridge line runs top to bottom, this doesn't need to be so but I think it helps during the construction.

I've added this loop of yellow hi viz paracord 550 to the central fixing point on the bottom edge of the tarp, and a green one to each of the bottom corners for orientation purposes later.
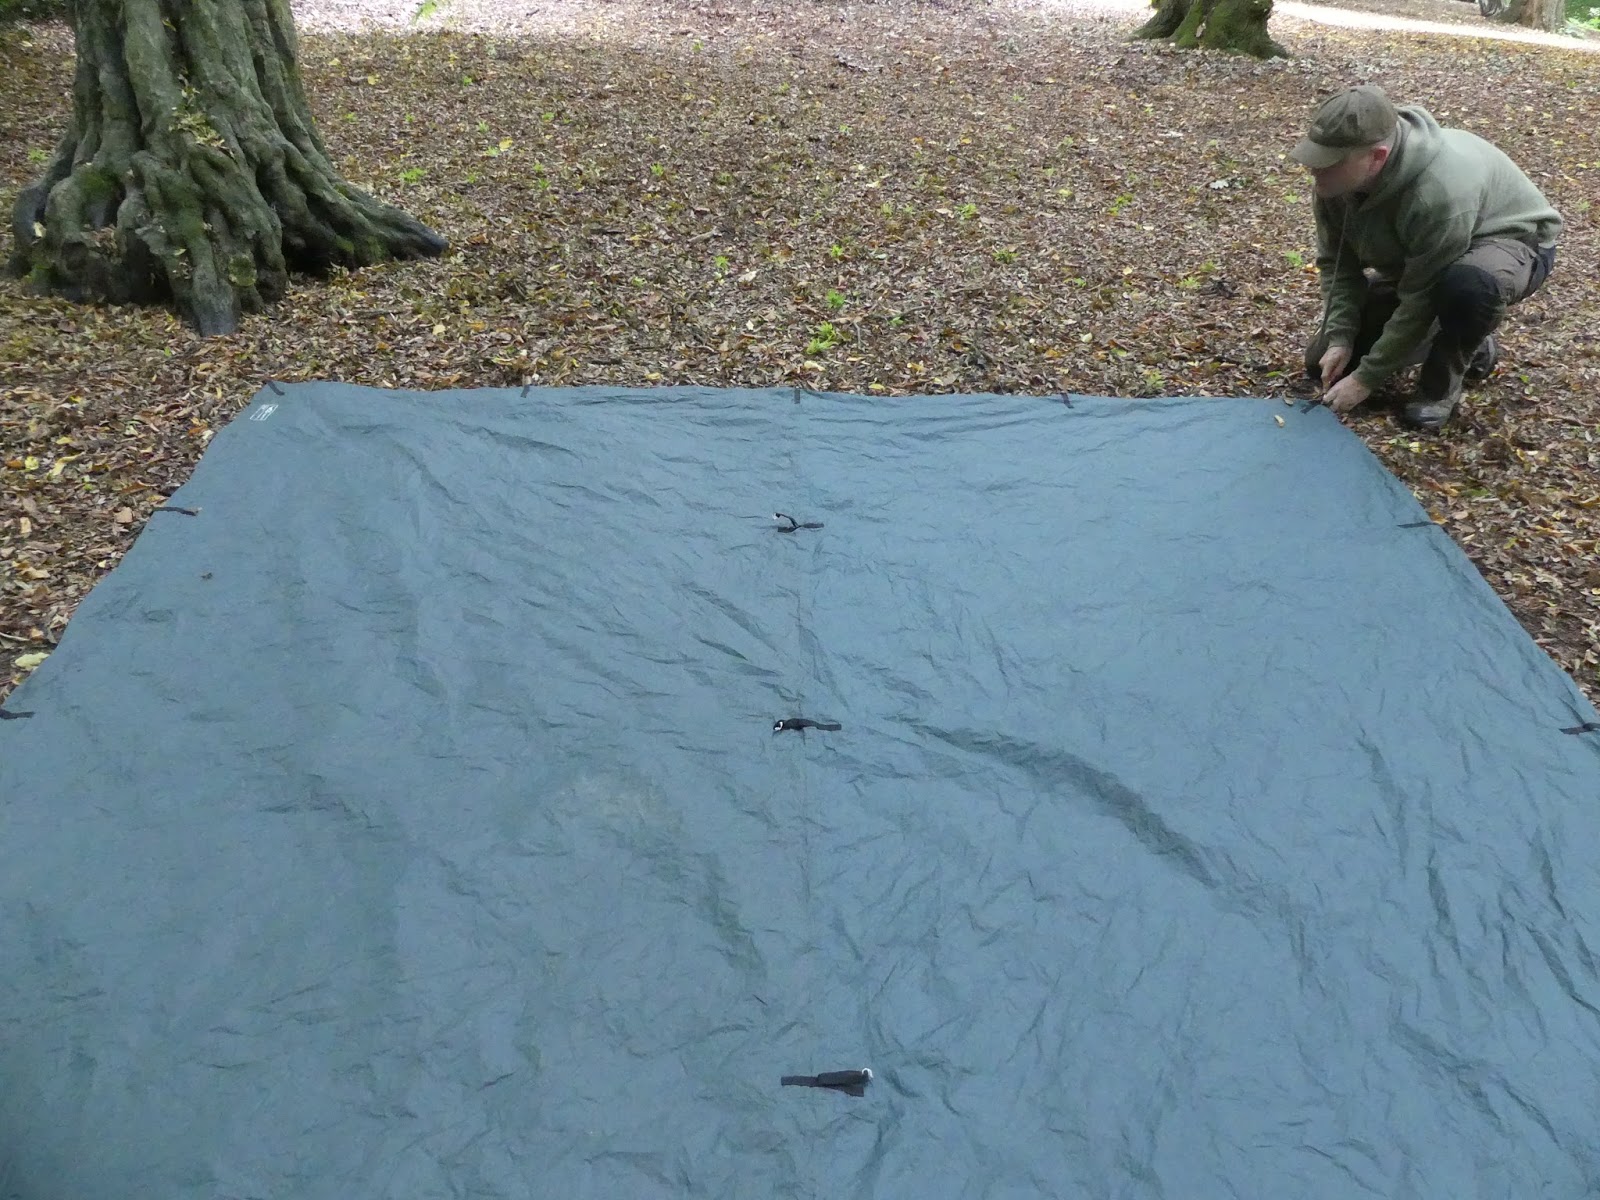
Next stage is to peg out the two top corners that will go on to form the back of the shelter, this varies slightly from the MK 1 which needs the fixing points to the side and below the corners pegging.

Now grab a couple more pegs and pull in the two green hi viz corners and peg them in the centre. Note the green hi viz paracord in the above pic near the central fixing point marked with the yellow hi viz paracord.

After pegging you will end up with a slightly bunched lower edge, and a straight upper edge to the tarp. The bunched bit will ultimately become the entrance/ exit.

Now to put the pole in this structure. I'm pointing to the central fixing point on the ridge using an adjustable pole in this instance. This differs from the MK 1 because that is supported on the loop nearest the front. The length of pole however is not too dissimilar at around three feet.
Also as before make sure the pole sits in the reinforced area around the loop and not on the material, and place a small piece of flat wood or stone on the ground to support the pole if the ground is a little soft.

So this is the bit where you have to be a bit nifty. Make your way through the gap between the green paracord pegged loops, and the yellow paracorded central loop with pole in hand.
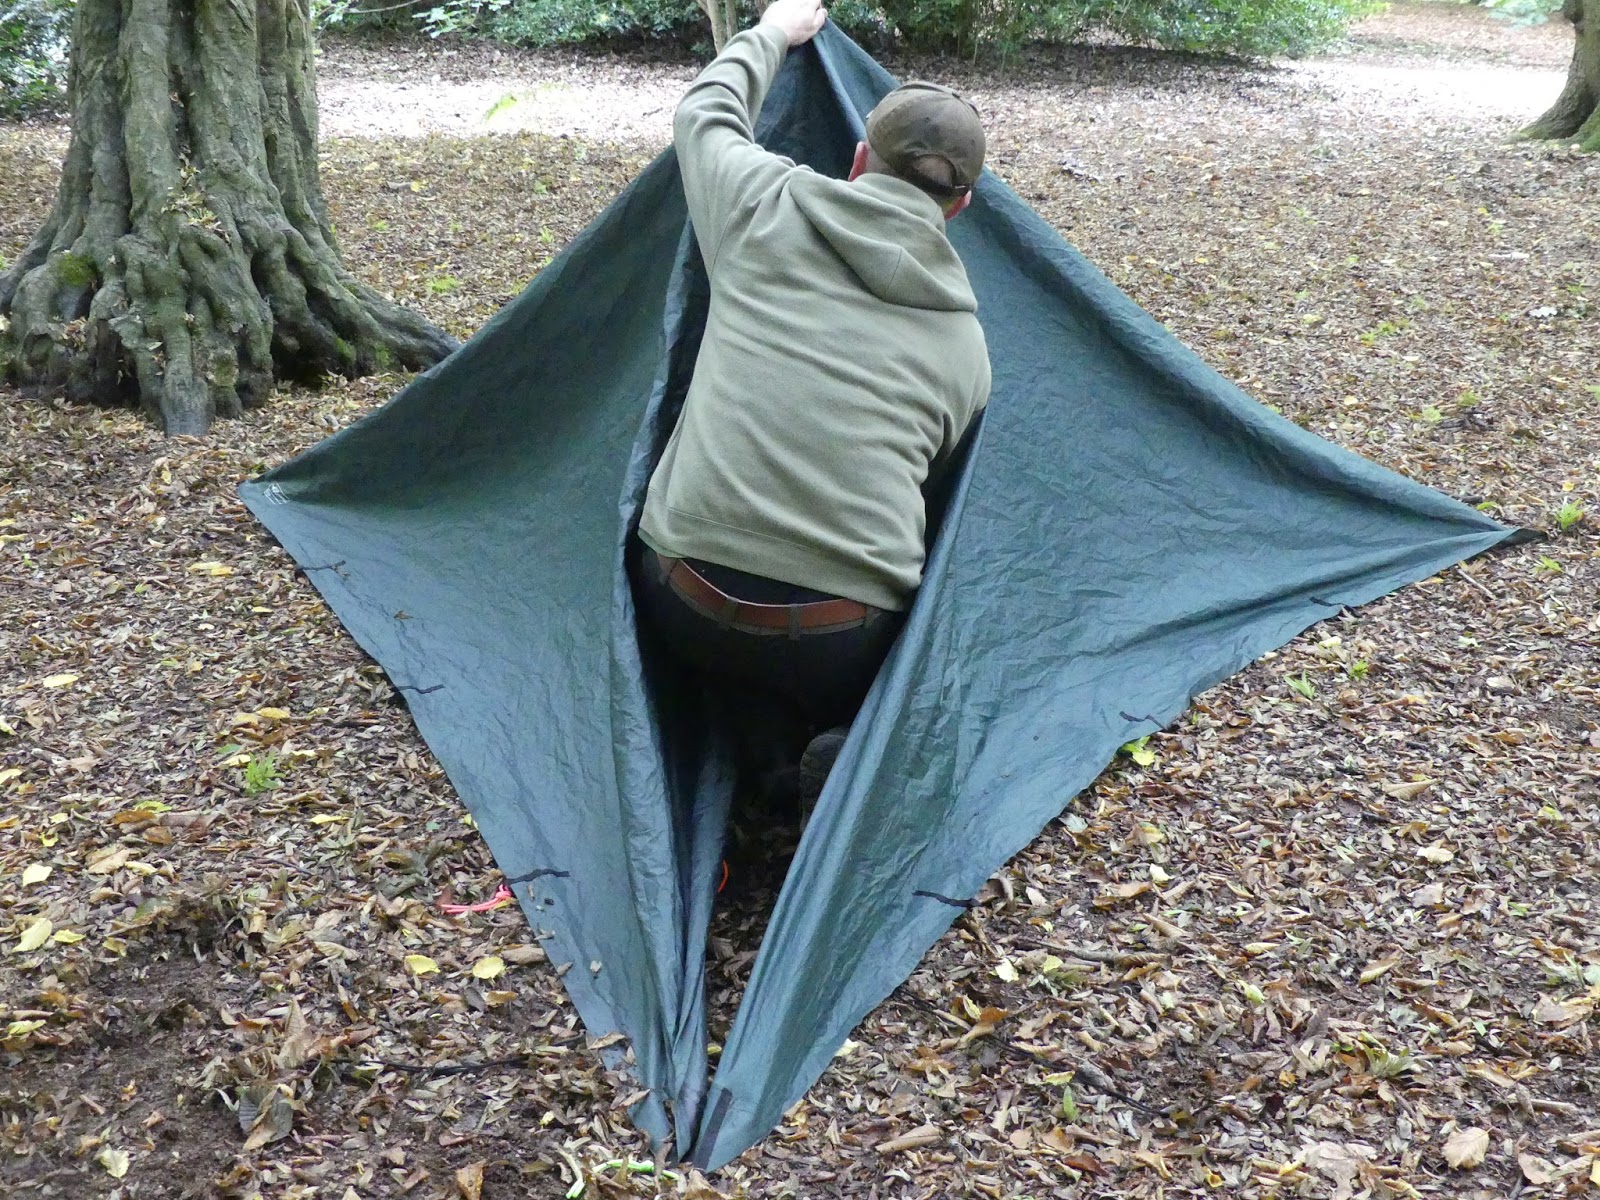
Now position the pole accurately under the central ridge line fixing point and vertically onto the ground, or a ground support if one is needed.

Once that is done satisfactorily you should be left with a fairly recognisable tent like structure with a slightly flappy, but fully enclosed front.

The flap on the MK 1 is pegged to the side and centrally at the front of the tent with another guy line and peg. This design sees the flap laid across one side or other as shown. Note the yellow paracord just visible near my left hand.
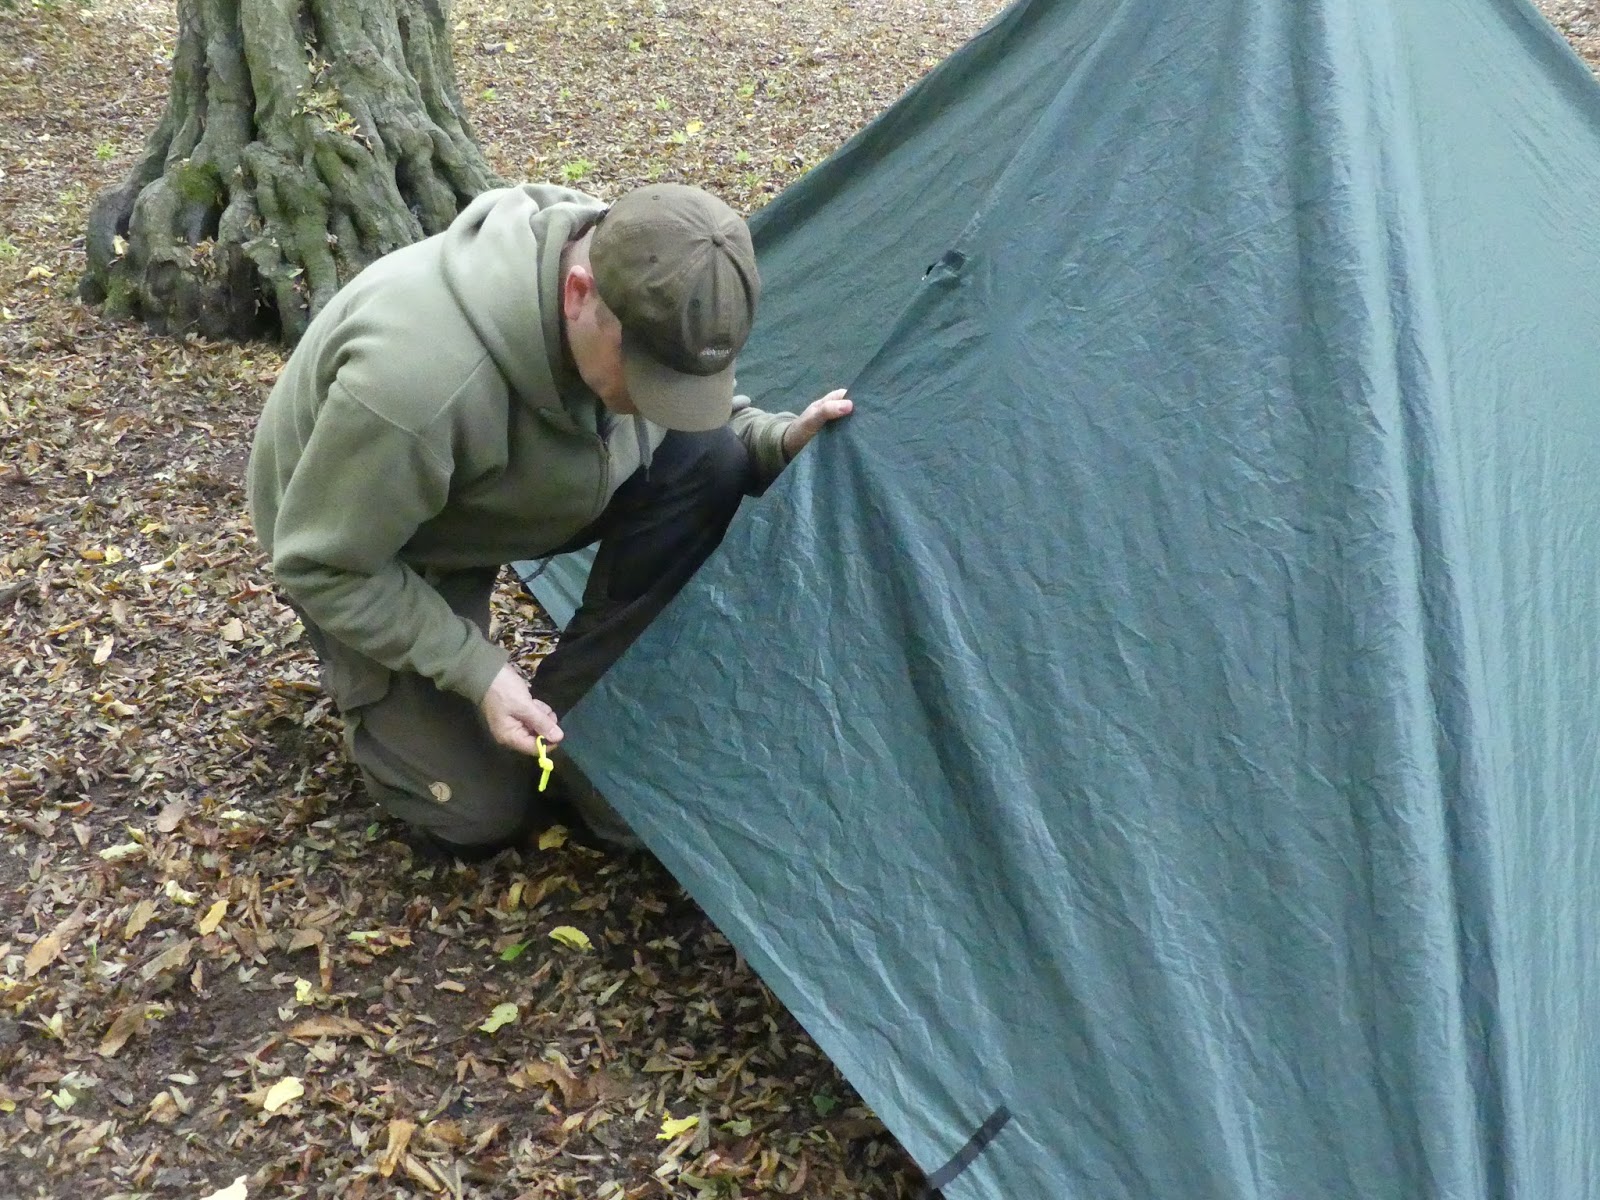
Making sure you have the flap taut secure it with a peg, it should fit through the nearest fixing point on the edge of the tarp tent itself.

Although the previous information demonstrates where and how to fasten the door flap, it isn't conducive to getting in the tent once it's secured! To do this you simply get in, fold the flap over the best you can, locate it and peg it through the other loop. a longer length of paracord passed under the tent can help this to be a smoother process.

And that is your Mk II tent complete. Well I say MK II, but there are lots of variations that are hybrids between a shaped tarp and a tent like structure, such is the versatility of a tarp. This has a similar footprint to the MK I but look out for condensation in this one.
Suggested further reading:-
No comments:
Post a Comment